Tuesday, January 30, 2018

1310 CNC Engraver - Adding Limit Switches

Per the vendor the board doesn't support limit switches - lol - even if the board has plugs for them.


Here is the 13 x 10 CNC Kit - it works! Let's add Limit Switches.


So I wanted to design a holder that didn't need screws to secure the switch. The design uses a post and a pin to hold the switch in the holder. Here you can see the switch with a proud pin.


Pin was been inserted.


X axis switch.


Y axis switch.


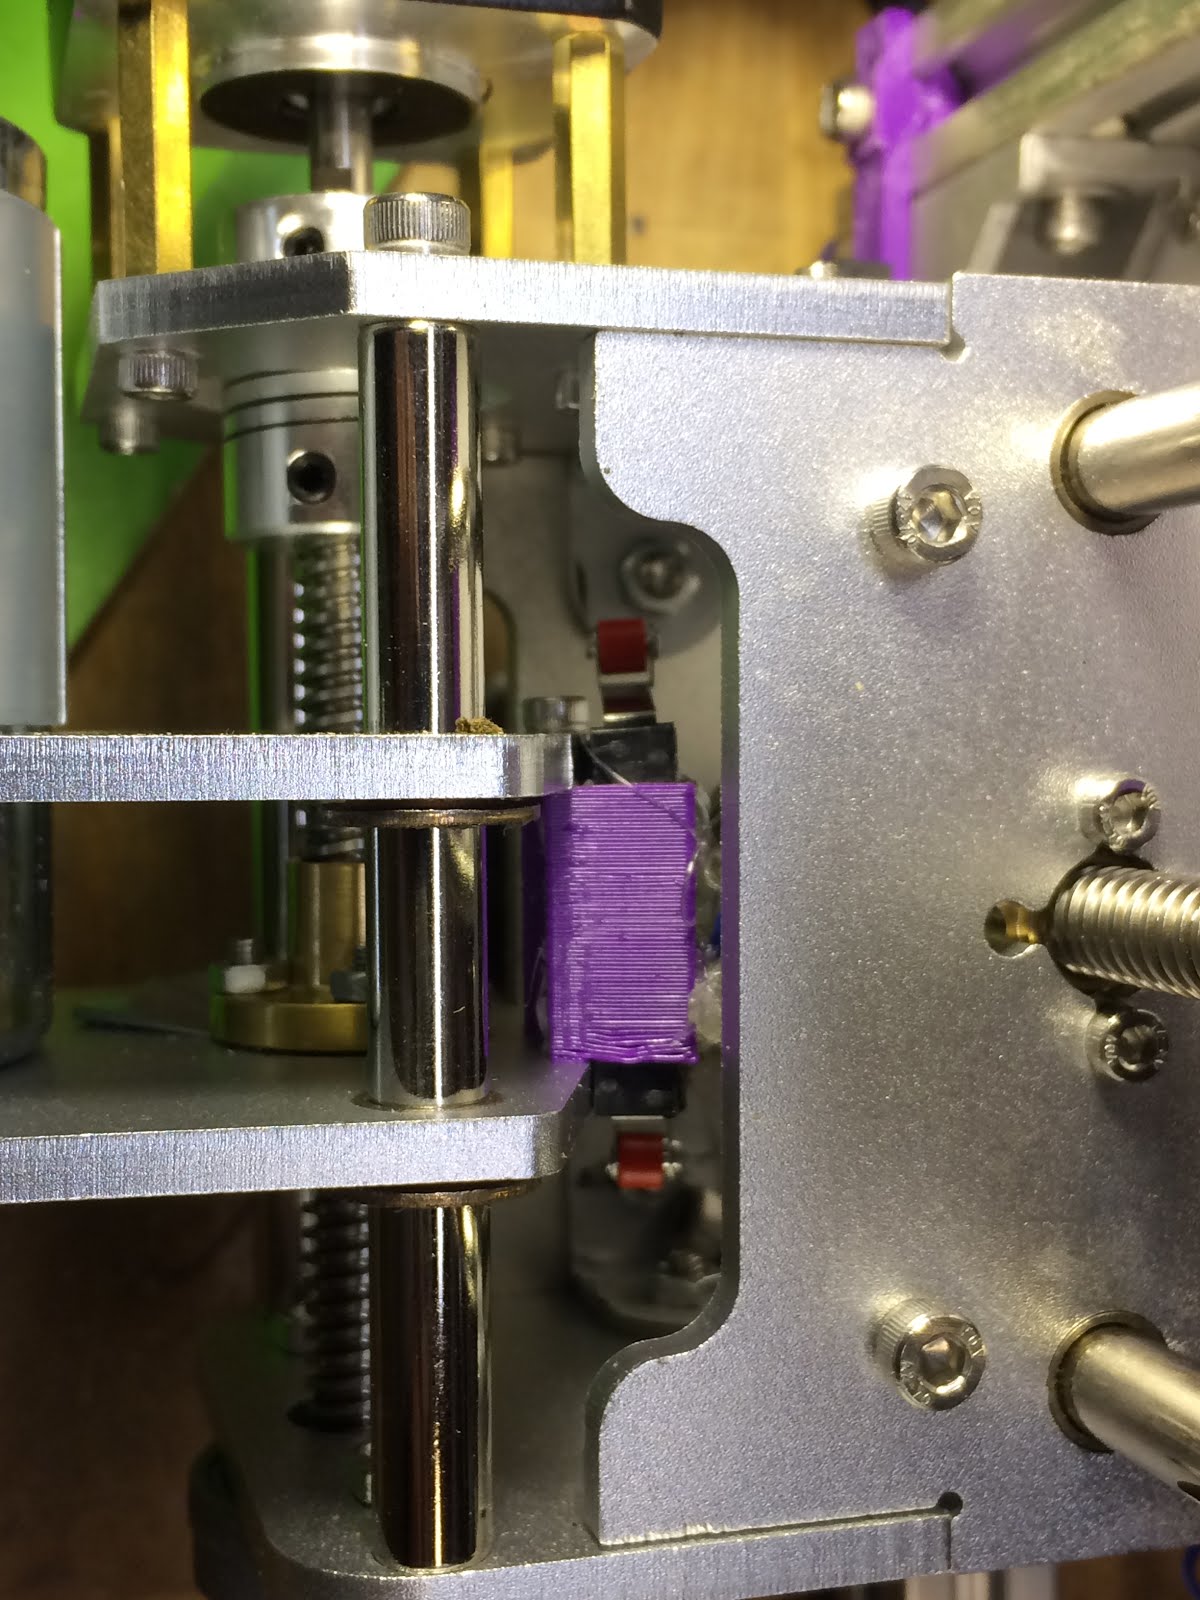
Z axis switch - taping holder - will replace existing hex standoff.


The rear hex standoff - not sure if I can get it installed without taking it completely apart.


Had to take the top screws out.


Install and solder to two switches.


Back together - hot mess of glue to hold the wires in place


Using the grbl guide for optocouplers found here: https://github.com/gnea/grbl/wiki/Wiring-Limit-Switches

Testing the limit switch control board - using long wires didn't work once the spindle fires up it trips. I tried using an older board that was laying around from another project that had these optocouplers on them - want a waste of time two are bad so I just ganged new ones on top of the non-working ones.


First bracket - needed to cut the back for the wire clearance. I designed it to replace the existing 4mm spacers behind the main control board - got the hole positions and distances right on the first go.


My input wires are too short - so I jumper them. I thought for sure I would continue to get spurious but it worked! So it's only the negative wire that needs to be short.


Second print - make it thicker and moved the slots that hold the board for more back clearance for the wire. Once I figured out that only the negative wire was receiving interference I moved the input wires back to the front.


10T85 Switch: https://smile.amazon.com/gp/product/B00MFRMFS6
Thingiverse Files: https://www.thingiverse.com/thing:2775407


Thursday, January 25, 2018

Upgrades to Makerfarm i3v 3d Printer - Octoprint Scripts


Power control with Octoprint running on a Raspberry Pi.

Solid state relay controls the main power.
As the Makerfarm i3v board still gets power from the USB connection I added the two board relay.

One relay controls the USB - sliced unto a USB cable and fished out the (red) power wire.
Second relay controls the light.


The Home Depot LED light (about $19) has the transformer on the plug so the wires to the light are only carrying about 7 volts DC.

Wired the light switch so that the existing switch or the relay can provide the completed circuit.

The LED light was switching on the neutral/negative side - I would have preferred positive side but didn't want to change the wiring completely. You can see the small nick I made to test the polarity and voltage.


Added and Emergency Stop - this runs between the low voltage - so it just cuts the power to solid state relay and that drops the power on the high voltage side.


Backside of Emergency Stop used spade connectors so I could disassemble if needed.


Emergency Stop - powered.


At the end of a print I get an email and ios notification with filename, print time and snapshot.


To get it all working I created three bash scripts - turn on, turn off and print finished:

Bash Scripts:
printer_on.sh
#!/bin/bash
#pwr
gpio export 23 out
gpio -g write 23 1
#usb pwr
gpio export 24 out
gpio -g write 24 0
#light pwr
gpio export 18 out
gpio -g write 18 0

printer_off.sh
#!/bin/bash
#pwr
gpio export 23 out
gpio -g write 23 0
#usb pwr
gpio export 24 out
gpio -g write 24 1
#light pwr
gpio export 18 out
gpio -g write 18 1

printDone.sh
#!/bin/bash 
/bin/echo "" | /usr/bin/mail -s  "$1" xxx@bxc.io
/usr/bin/curl -s -o /tmp/printDone.jpg "http://localhost:8080/?action=snapshot" > /dev/null
/usr/bin/mpack -s "$1" /tmp/printDone.jpg xxx@hotmail.com 
/home/pi/scripts/printer_off.sh

Octoprint config file:
system:
  actions:
  - action: printer on
    command: /home/pi/scripts/printer_on.sh
    name: Turn on the printer
  - action: printer off
    command: /home/pi/scripts/printer_off.sh
    confirm: You are about to turn off the printer.
    name: Turn off the printer

events:
  enabled: True
  subscriptions:
  - event: PrintDone
    command: /home/pi/scripts/printDone.sh "Done {name} {time}"
    type: system
  - event: PrintCancelled
    command: /home/pi/scripts/printDone.sh "Cancelled {name}"
    type: system
  - event: PrintStarted
    Command:  "/home/pi/scripts/webcam start"
    type: system

Tuesday, January 2, 2018

HVAC Blower Hacking


When your Lennox G60UHV HVAC ECM motor (10M07) doesn't want to blow when the furnace fires up - bypass it and force fan mode when heat is triggered.


I never could find a spec sheet that described what modes get what pin voltages.

During Heat operation - I saw the following voltages on pin 2 (0 or 10 vac), pin 13 (0 or 26 vac) and pin 15 (15 vac).

In the first picture above - I jumped 28 vac to pin 15 and pin 1 and 3 to ground.


I never could get the DC only (left side of page) to get the blower rotating - guessing the ECM didn't have power (on pin 12) like it's show on the AC side (right side of page).


The HVAC guys guessed wrong and said it was the control board - so they replaced that after about a week the blower stopped again. So I replaced the ECM part on the motor. I measured similar voltages to the motor as the first controller -   pin 2 (0 or 15 vac), pin 13 (0 or 26 vac) and pin 15 (15 vac). I measured these voltages after it started acting up again... So time will tell if it was the ECM or I need a third controller board...